by: David Capizzano
The process of adjusting the colour, contrast or overall look of footage is called colour grading, and it’s probably one of the most important steps in the production process. Despite this, if it’s been done well, you might not even notice it at all. Colour has a massive impact on how we respond to what we’re seeing on screen, and a good colour grade can bring out an entirely new set of ideas or thoughts which can be communicated to an audience, and with the advent of digital technology, the options for setting a look are almost endless.
But it wasn’t always this way.

In the days of film, directors and DoP’s would use a series of chemical baths and prisms to chemically alter the colour composition of the film after it was shot. They might have also used a series of filters on the lens while capturing the scene.
Before Roger Deakins used a digital colour process on the film O Brother Where Art Thou (2000) to achieve a dustbowl look, chemical timing was standard practice. Despite shooting in a very-green South Carolina & Mississippi, Deakins used a digital process to essentially remove the colour green from the film, resulting in a wonderfully bleak and magical depression era setting.

These days, the most common method of capturing footage is through using digital cameras. These cameras are incredibly powerful and capture images up to 6k resolution (5760 x 3700), however upon first glance, the footage you initially get doesn’t look fantastic, but there’s a very important reason for that. Like shooting digitally, these cameras capture video in a RAW format. A director or DoP might choose to shoot raw to ensure that they’re getting the most flexible footage possible. Later on in post production, RAW formats allow the DoP & Colourist to match shots effortlessly, adjust white balance with amazing specificity, and to recover areas of the footage which might seem too bright or dark.
So until the footage gets processed, it typically looks something like this:

By capturing the scene in as flat of a colour profile as possible, you’re ensuring the camera is collecting the maximum amount of data possible, offering you tons of latitude later on. Sometimes, a LUT (or Look-Up-Table) will be applied to the footage temporarily on set as the flat footage can be tricky to see through if you’re not used to it. This allows the client or viewers to get a “glimpse” of what the final colour process might look like.

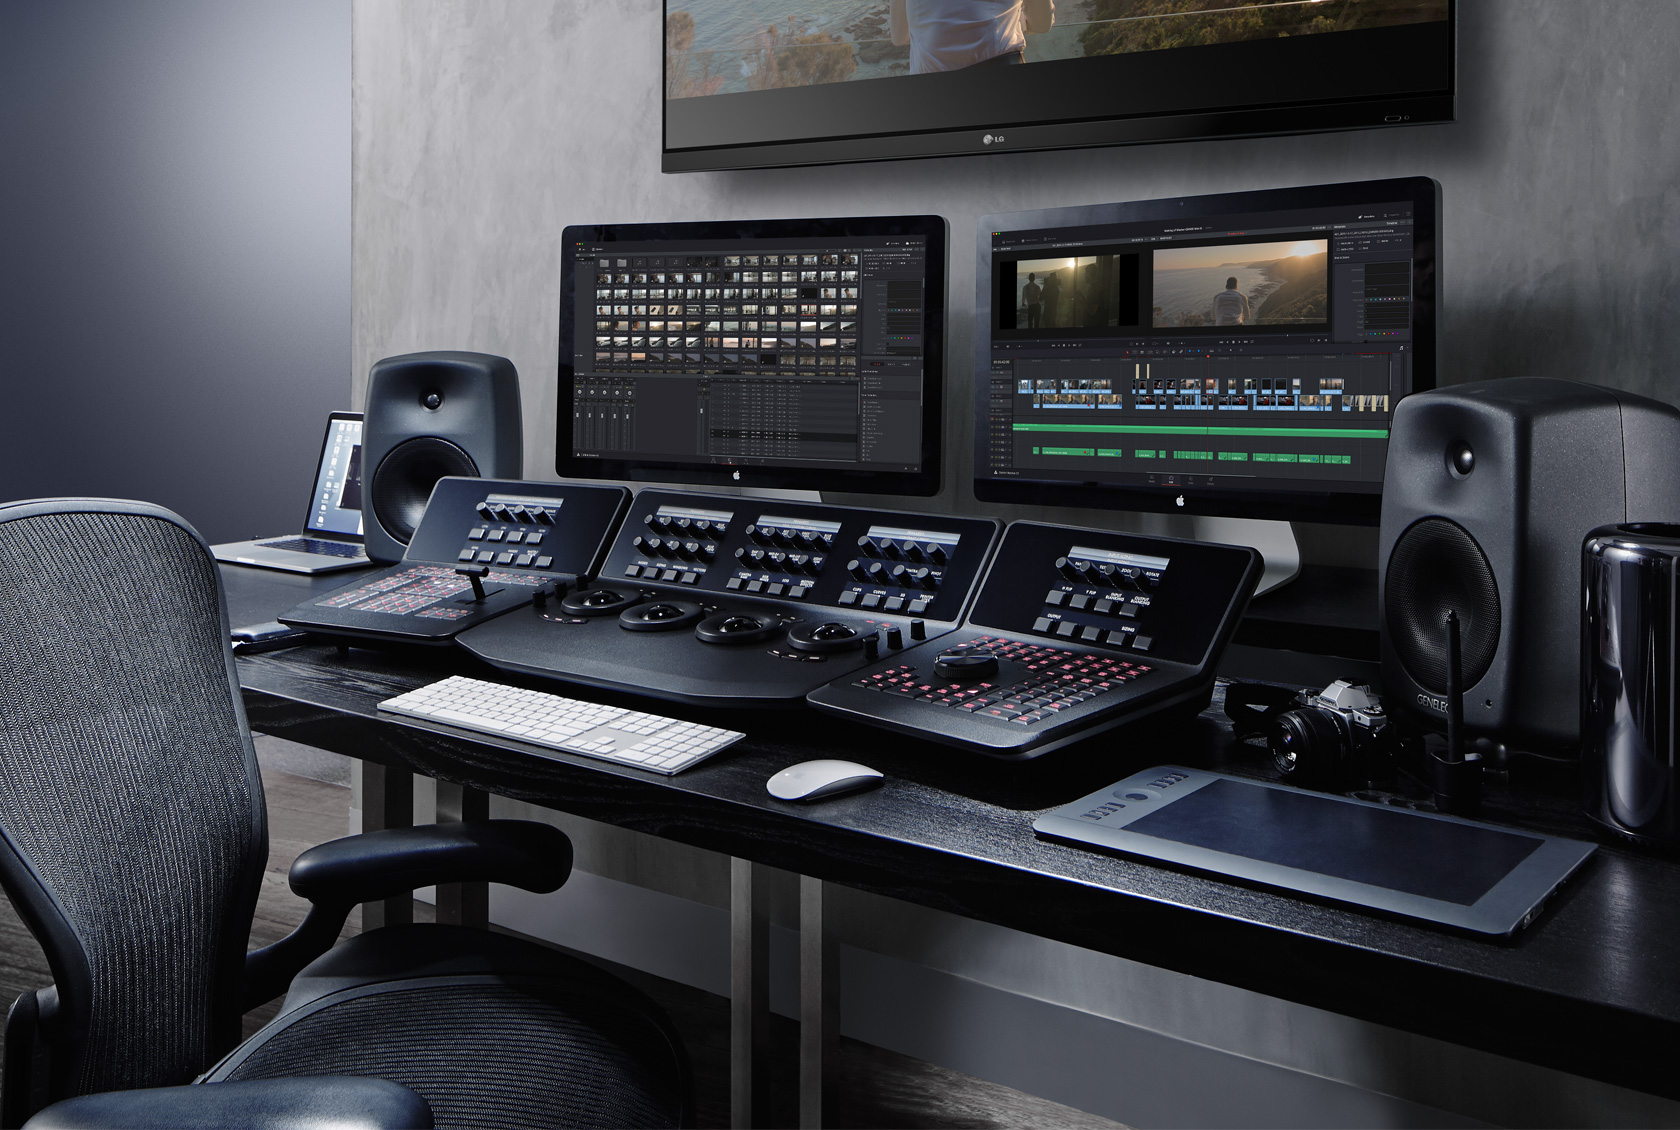
On larger productions such as movies or t.v shows, a colourist will usually be brought on to work with the DoP to grade the footage using a control panel specifically designed for colouring software. This control panel is large, expensive, and requires incredible skill and knowledge to operate, so the process is usually reserved for bigger projects. Smaller projects can be graded without the use of such systems, meaning you can achieve great quality and professional results by using your edit suite, or a free version of the Davinci Resolve software.
Almost everything you’ve ever seen on t.v, at a theatre, or even online has been through some sort of colour treatment, but when it’s done well, it doesn’t draw attention to itself. Colour will continue to become an increasingly important step in the production process as more and more footage is shot using digital cameras, and the technology inside of those cameras progresses. Taking the time to go through this important step with your project could make the difference between something great, and something spectacular.
And hopefully, if it’s done well, your audience won’t have any idea it’s been done at all.